Load Specified Tray
The tray specified on the control panel is empty and needs to be loaded with paper. Load the paper specified on the control panel in that tray.
To load paper in the tray:
- Look at the control panel and note the tray that needs paper.
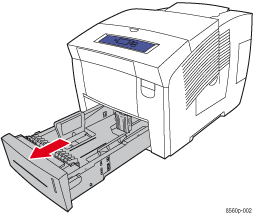
- Pull the tray completely out of the printer.

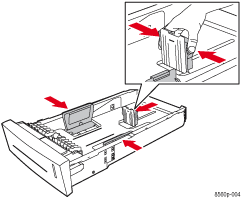
- If necessary, adjust the back and side paper guides. Press the sides of the back guide and slide the guide until the arrow on the guide matches the appropriate paper size and clicks into place. Slide the side guides until the arrows on the guides match the appropriate paper size and the guides click into place.
Note: When the guides are correctly adjusted, there may be a small space between 5he paper and the paper guides.

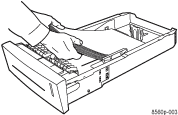
- Insert paper in the tray.
Note: Do not load paper above the fill lines on the side of the tray.

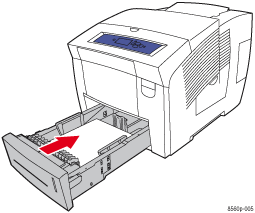
- Insert the tray into the tray slot and push it completely into the printer.

- If you didn't change the type of paper in the tray setup, press the OK button on the control panel.
- If you loaded a different paper type in the tray, do the following:
- Select Change setup, and then press the OK button.
- Select the paper type, and then press the OK button.


